console_engine
| Crates.io | console_engine |
| lib.rs | console_engine |
| version | 2.6.1 |
| created_at | 2020-04-15 22:13:33.186576+00 |
| updated_at | 2023-12-10 15:49:37.679222+00 |
| description | A simple terminal framework to draw things and manage user input |
| homepage | |
| repository | https://github.com/VincentFoulon80/console_engine |
| max_upload_size | |
| id | 230634 |
| size | 165,759 |
documentation
README
Console Engine
This library provides simple features for handling user's input and display for terminal applications.
Besides the user input and display, this library also provides some tools to build standalone "screens" that can be used just for printing.
It uses Crossterm as main tool for handling the screen and inputs. You don't have to worry about initalizing anything because the lib will handle this for you.
Summary
Features
- Build custom terminal display using shapes or text
- Terminal handling with a target frame per seconds
- Keyboard and mouse support
- Terminal resizing support
- You are not interested by keyboard/mouse handling, even terminal handling ? You can still build "screens" that will just print its content.
- Embedding screens to one another
- with feature
event:- Manage inputs as they arrive
- with feature
form:- Build self-managed forms with a set of inputs (text, checkboxes ...)
- Validate each input with a set of validation constraints
Platforms
Since it uses crossterm, it should work on Windows, Linux and Mac (see Tested Terminals on Crossterm's page).
Example usage
ConsoleEngine (managing input & output)
use console_engine::pixel;
use console_engine::Color;
use console_engine::KeyCode;

fn main() {
    // initializes a screen of 20x10 characters with a target of 3 frames per second
    // coordinates will range from [0,0] to [19,9]
    let mut engine = console_engine::ConsoleEngine::init(20, 10, 3).unwrap();
    let value = 14;
    // main loop, be aware that you'll have to break it because ctrl+C is captured
    loop {
        engine.wait_frame(); // wait for next frame + capture inputs
        engine.clear_screen(); // reset the screen

        engine.line(0, 0, 19, 9, pixel::pxl('#')); // draw a line of '#' from [0,0] to [19,9]
        engine.print(0, 4, format!("Result: {}", value).as_str()); // prints some value at [0,4]

        engine.set_pxl(4, 0, pixel::pxl_fg('O', Color::Cyan)); // write a majestic cyan 'O' at [4,0]

        if engine.is_key_pressed(KeyCode::Char('q')) { // if the user presses 'q' :
            break; // exits app
        }

        engine.draw(); // draw the screen
    }
}
Screens (generating output)
use console_engine::screen::Screen;
use console_engine::pixel;

fn main() {
    // create a screen of 20x11 characters
    let mut scr = Screen::new(20,11);

    // draw some shapes and prints some text
    scr.rect(0,0, 19,10,pixel::pxl('#'));
    scr.fill_circle(5,5, 3, pixel::pxl('*'));
    scr.print(11,4, "Hello,");
    scr.print(11,5, "World!");

    // print the screen to the terminal
    scr.draw();
}
Events (with feature event)
(see examples for complete source code implementation)
loop {
    // Poll next event
    match engine.poll() {
        // A frame has passed
        Event::Frame => {/* ... */}

        // A Key has been pressed
        Event::Key(keyevent) => {/* ... */}

        // Mouse has been moved or clicked
        Event::Mouse(mouseevent) => {/* ... */}

        // Window has been resized
        Event::Resize(w, h) => {/* ... */}
    }
}
Forms (with feature form)
(see examples for complete source code implementation)
// Define a theme for the form
let theme = FormStyle {
    border: Some(BorderStyle::new_light()),
    ..Default::default()
};
// Create a new Form
let mut form = Form::new(
    12,
    6,
    FormOptions {
        style: theme,
        ..Default::default()
    },
);
form.build_field::<Text>(
    "username",
    FormOptions {
        style: theme,
        label: Some("Username"),
        ..Default::default()
    },
);
form.build_field::<HiddenText>(
    "password",
    FormOptions {
        style: theme,
        label: Some("Password"),
        ..Default::default()
    },
);
/* ... */
while !form.is_finished() {
    match engine.poll() {
        /* ... */
        event => form.handle_event(event)
    }
}
Documentation
Take a look at the generated documentation.
Examples
See examples :
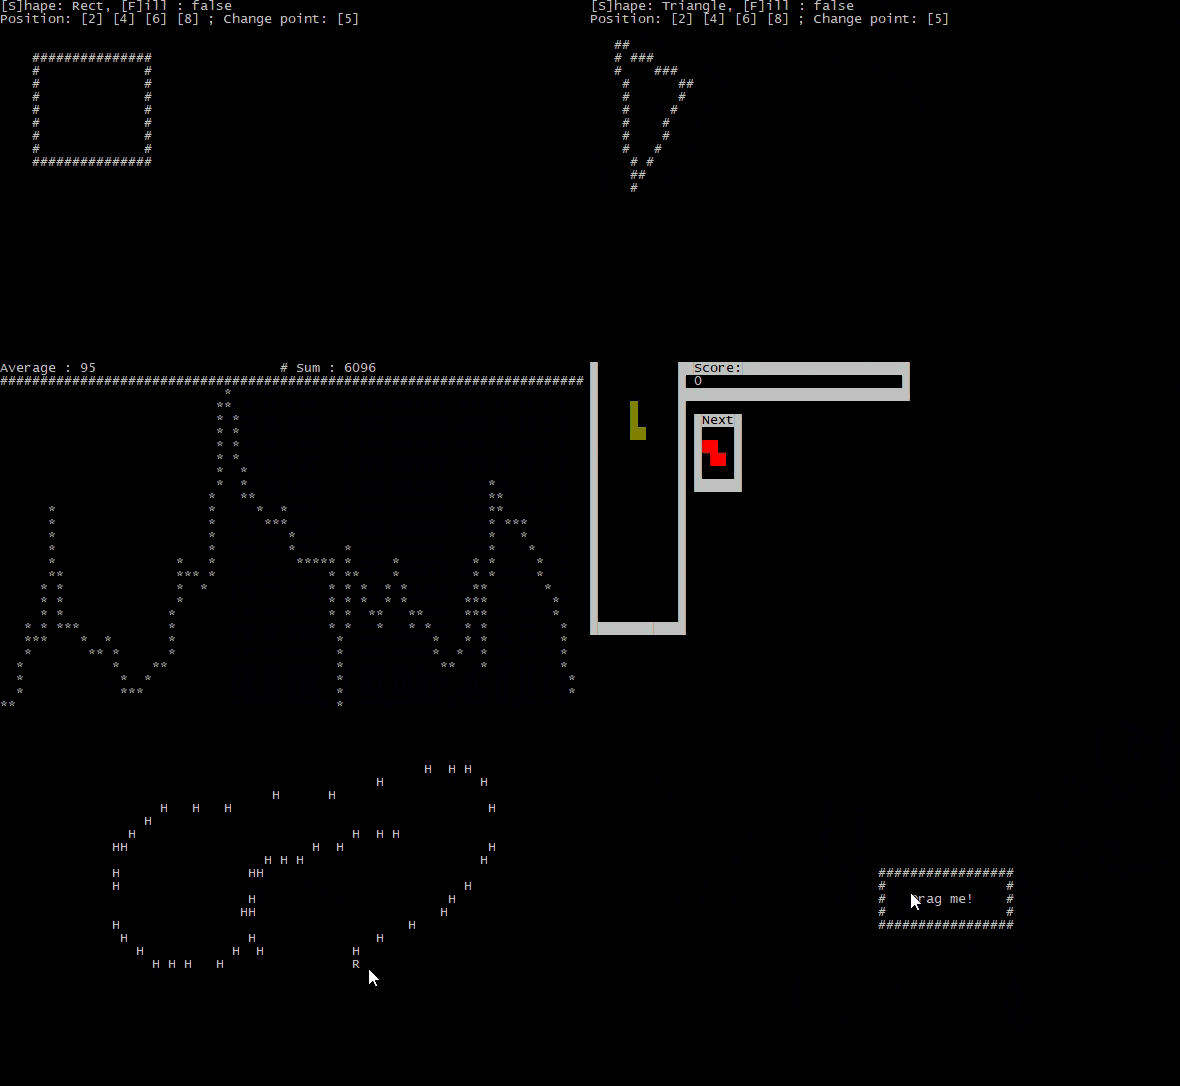
- drag-and-drop : Move a rectangle with your mouse
- emojis : Display an emoji on the terminal
- events : Example usage of the event polling method.
- form-choices : Example usage of a
CheckboxandRadioFormFields - form-simple : Example creation and usage of a
Formcontaining two inputs - form-text : Example usage of a
TextFormField - form-validation : Example usage of Form Validation
- graph : Display a graph being generated with some values.
- lines : Draw random lines of random colors on the screen.
- lines-fps : Same example as lines, but with a FPS counter.
- mouse : Simple mouse clicking test
- screen-embed : Example usage of Screen's
print_screenfunction to embed one screen into another - screen-extract : Example usage of Screen's
extractfunction to extract part of a screen - screen-simple : Example usage of Screen struct instead of ConsoleEngine
- screen-swap : Swap between several Screen structures
- scroll : Example for the
scrollfunction - scroll-smooth : Example for smooth scrolling (windows only as of crossterm 0.26.1)
- shapes : Shape's functions testing tool
- snake : A simple game of snake.
- styled-rect : Example of the
rect_borderfunction - tetris : A game of Tetris
Media

Trustworthiness
It is recommended to always use cargo-crev to verify the trustworthiness of each of your dependencies, including this one.


